
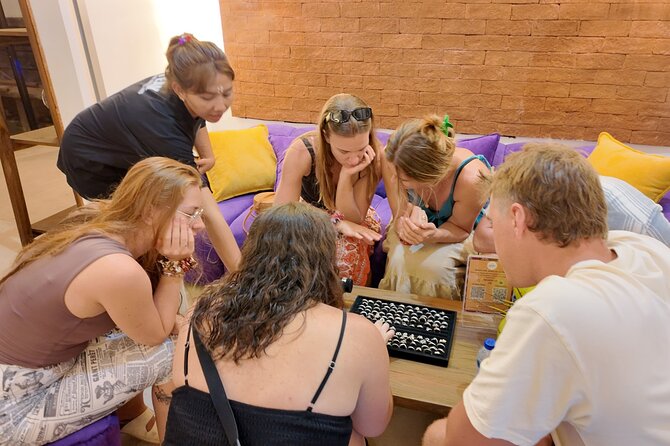
Reviewed · ULUWATU, GWK & THE BUKIT COAST
Bali Jewelry Silver Class in Uluwatu with Gold Plating Option
A silver ring in two hours. That’s the fun hook of this Uluwatu class, where you design your own silver jewelry and leave with a real take-home piece. I also like that there are evening sessions, so you can fit it around temple time, beaches, or dinner plans, and not lose a whole day. One consideration: if you want gold plating, it’s an add-on and will cost extra.
The studio is practical too. You check in, relax in a/c, and get free Wi‑Fi while you wait in a space that’s set up for making and photographing your work. Group size is capped at 20, so it feels more hands-on than the big, assembly-line style classes.
In This Review
- Key Highlights You’ll Care About
- How the Uluwatu Silver Class Fits Into Your Day
- Inside the Studio: A/C, Wi‑Fi, and Photo-Friendly Setups
- Design Your Own Piece: Templates, Choices, and Real Personalization
- From Saw to Shine: What You’ll Do With the Silver
- The Gold Plating Option: When It Makes Sense
- Included Perks That Actually Matter
- Price and Value: What $46.43 Really Buys You
- Timing, Group Size, and What to Expect During the 2 Hours
- Who This Class Is Best For (and Who Might Skip It)
- Quick Practical Tips Before You Go
- Should You Book the Bali Jewelry Silver Class in Uluwatu?
- FAQ
- How long is the Bali Jewelry Silver Class in Uluwatu?
- Where is the meeting point?
- What does the price include?
- Is gold plating available?
- How much silver will I use?
- Are meals included?
- Is hotel transfer included?
- Is Wi‑Fi available during the class?
- What’s the group size?
- What is the cancellation policy?
Key Highlights You’ll Care About
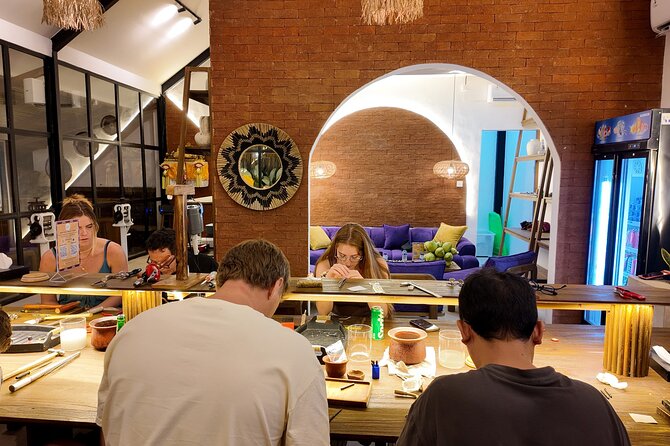
- You work with real silver: 1–6 grams of pure silver for one jewelry design.
- Evening classes are available: helpful if daytime plans are already packed.
- Free studio Wi‑Fi in-house: easier than relying on roaming data.
- Professional tools are used: grinding wheels, jeweler’s saws, stamping and hammering.
- Optional gold plating upgrade: choose silver only, or add a gold finish.
- Indoor + outdoor studio setup: a/c comfort plus open-air moments for photos.
How the Uluwatu Silver Class Fits Into Your Day
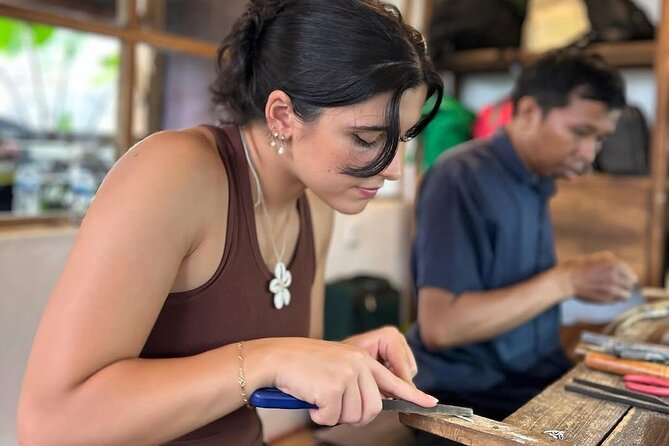
This is a short, focused workshop in Jimbaran/Uluwatu that runs about 2 hours. The schedule is flexible, too, because they offer a range of class times, including evenings. That matters in Bali, where plans can change fast and traffic can stretch your timeline.
You’ll start at Signature Jewelry Classes – Uluwatu Silver Class, at Jl. Labuansait No.64, Pecatu, Kec. Kuta Sel., Kabupaten Badung, Bali 80361. The activity ends back at the meeting point, so you’re not stuck figuring out a long transfer afterward. You also use a mobile ticket, which keeps things simple when you’re hopping between spots.
Group size is capped at 20, which helps with the feel of the class. You’re not just watching while someone else does the real work. Instead, you follow along with a silversmith’s guidance and make decisions about your piece.
More of Uluwatu, GWK and the Bukit clifftops



Inside the Studio: A/C, Wi‑Fi, and Photo-Friendly Setups
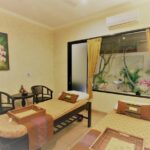
When you arrive, you check in at the Signature Jewelry Classes studio and spend a bit of time in the waiting area. It’s a cozy setup with free Wi‑Fi, which is honestly a travel-life saver. You can message people, upload a few photos from your arrival, or just keep your navigation apps open without worrying about data.
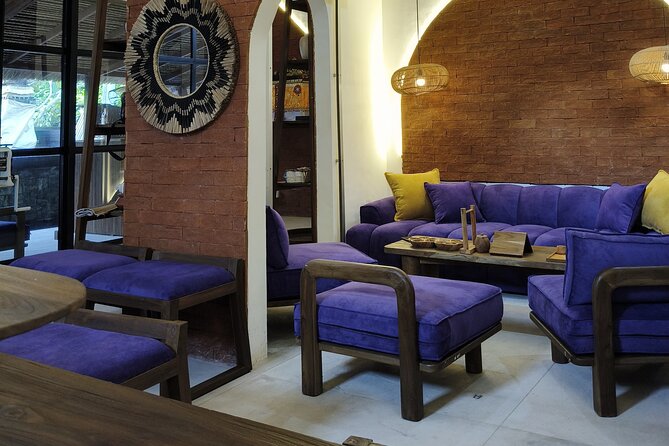
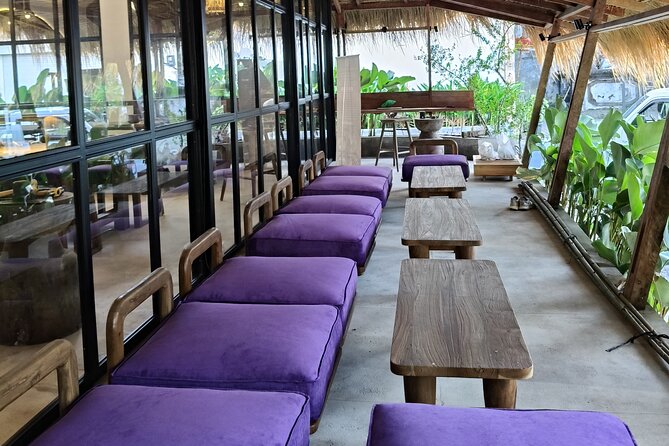
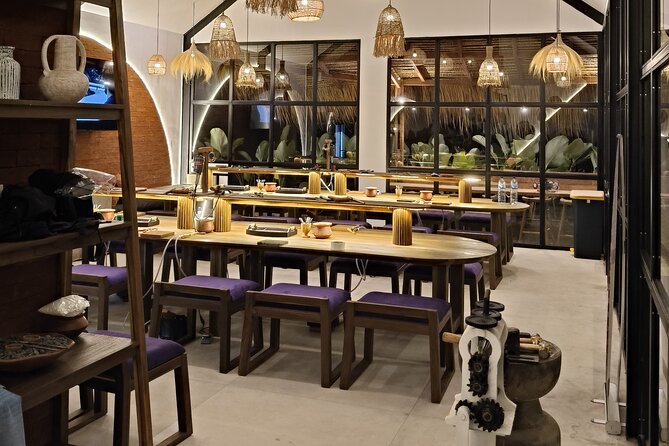
The classroom itself is designed for both comfort and creativity. Expect an air-conditioned studio environment, plus indoor and outdoor spaces. That combination helps: you can cool down when you need to, but you’re not trapped inside a single room the whole time.
There are also Instagrammable spots built into the setting. That’s not just about aesthetics. A good creative space makes it easier to slow down, focus, and document your process without feeling rushed. If you like bringing friends along to see what you made, this kind of layout makes it more fun for everyone.
Design Your Own Piece: Templates, Choices, and Real Personalization
The best part of this class is that you’re not limited to a cookie-cutter souvenir. You can work with your own design ideas or use copy templates to guide what you make. For many people, that’s the sweet spot: you get structure, but you’re still in control of the look.
You’ll also work within a defined material allowance: you’ll use 1–6 grams of pure silver for one jewelry design. That means the class is built around manageable crafting steps that fit into the 2-hour timeframe. It’s enough to create something meaningful, without turning the session into a multi-day project.
This is also where the class pays off for ring fans. A repeated theme is the ability to get your design close to what you pictured—especially for rings. If you’re someone who hates buying souvenirs that feel generic, you’ll appreciate that personalization is the point, not a side effect.
From Saw to Shine: What You’ll Do With the Silver
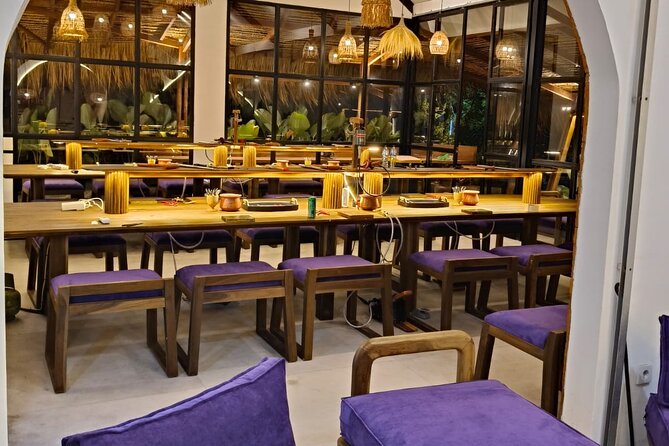
Once you start, a skilled silversmith guides you through the process step by step. The focus is on classic silversmithing actions, using professional tools. You’ll learn the workflow from the early shaping stage all the way to the finishing touches.
Here’s what that looks like in the real world:
First comes the basics of shaping and preparing your piece. You’ll handle tools like grinding wheels to refine what you’re working on, and jeweler’s saws to cut and shape parts more precisely. This is the part where it feels like you’re doing “real craft,” not just assembling something.
Then you move into the finishing and detailing steps. The process includes polishing, plus techniques like stamping and hammering. Stamping helps create defined patterns or marks, while hammering is part of forming and texture work. Even if you’re new to jewelry making, the guidance keeps it understandable—and it’s very satisfying when you see a flat piece turn into something you recognize as jewelry.
Throughout the session, your goal is simple: create a hand-crafted piece that’s yours to keep and take home. That end result is why the class works so well as a Bali activity. You get a tangible memory that doesn’t get shoved in a drawer after one photo.
The Gold Plating Option: When It Makes Sense
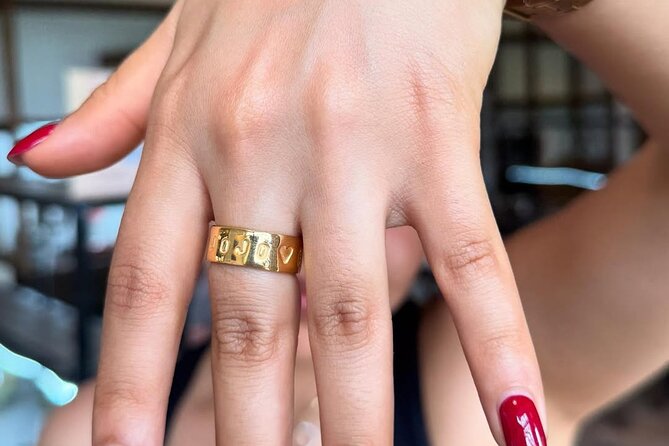
This class includes an optional upgrade: gold plating for an additional charge. If you choose it, your silver piece gets that richer, warmer finish.
Whether gold plating is worth it depends on your style and your packing plans. If you’re trying to make one piece that works with lots of outfits, gold plating can make your jewelry feel more “ready to wear” right away. If you prefer the clean look of silver, you can skip the upgrade and still get a crafted souvenir.
Since the class starts with silver and you choose plating afterward, think of gold plating as a customization layer—not a replacement. You still learn the silversmithing process; you’re just choosing the final look at the end.





Included Perks That Actually Matter
This workshop is priced at $46.43 per person, and for that you get more than just a seat in a room. Here’s what’s included:
- Bottled water
- Free Wi‑Fi access
- Air-conditioned studio environment
- 1–6 grams of pure silver for one jewelry design
- Guidance from professional silversmiths
- Specialized tools for jewelry making
That’s a lot of value wrapped into one fee. You’re paying for guided instruction, the use of proper tools, and the silver itself. In other words, you’re not just paying for someone to talk while you watch. You’re paying for materials plus hands-on training.
What’s not included is equally important. Meals aren’t included, and there’s no hotel transfer. If you’re doing this on a busy day, plan to grab food before or after. Also, make sure you have a way to get to Jl. Labuansait No.64 and back (the venue is near public transportation, which helps).
Price and Value: What $46.43 Really Buys You
At first glance, $46.43 might sound like a “small activity” price. But the value comes from the materials and the real process. You get pure silver (within a defined weight range) plus tool time plus step-by-step guidance. That’s the difference between a craft class and a demo.
Also, you’re paying for a result you can keep. A well-made jewelry piece is something you’ll wear, not just something you’ll look at in a photo album. The personalization angle matters here. If you’re the kind of person who wants a souvenir that feels like yours—not something from a shelf—this kind of class fits that mindset.
Finally, the time is efficient. About 2 hours is long enough to learn the workflow, but short enough to still enjoy Bali’s best parts afterward.
Timing, Group Size, and What to Expect During the 2 Hours
The entire session is about 2 hours (approx.). Inside that window, you’ll go from check-in to crafting to a finished piece you take home.
Because the max group size is 20, you’ll have more chances for help and correction than in a larger class. Still, keep expectations realistic. You’re learning hands-on techniques in a limited time block, so your piece may not look identical to a store-bought item. What you’re making is personal and handmade, and that’s the point.
If you’re booking an evening slot, you’ll likely be combining this with dinner plans. It’s a good idea to eat beforehand, especially since meals are not included.
Who This Class Is Best For (and Who Might Skip It)
This Bali silver jewelry class is ideal if you want a hands-on activity with a clear payoff. It’s especially good for:
- People who like personalized souvenirs
- Anyone interested in learning basic silversmithing steps
- Travelers who want an activity that fits into a tight schedule (day or evening)
- Couples or friends who enjoy doing something creative together
You might not love it if you’re looking for a passive, sit-and-watch tour. This is a make-your-own class, with real tools and craft steps. You’ll be focused on shaping, stamping, hammering, and polishing—not just listening.
Most people can participate, so unless you have specific limitations, it should be a straightforward option.
Quick Practical Tips Before You Go
A few small things can make your class experience smoother:
- Wear something comfortable. You’ll be working with tools and moving through crafting steps.
- Plan for photos, but also plan for finishing. The studio is built for Instagram-ready moments, yet the goal is your final piece.
- If you want gold plating, decide based on how you’ll wear the jewelry after the class. It’s an add-on, so think in terms of what look you’ll actually use.
Also, keep your expectations aligned with the time. This is not a months-long workshop. It’s a guided, efficient process designed for take-home results in about two hours.
Should You Book the Bali Jewelry Silver Class in Uluwatu?
Yes, if you want a Bali activity with a tangible result and real personalization. For the money, you get pure silver, professional guidance, and tools, plus a comfortable studio with free Wi‑Fi and air-conditioning. The optional gold plating is a simple way to tweak the final look without losing the core craft experience.
Skip it only if you mainly want sightseeing time or if you prefer buying ready-made jewelry over creating your own. Otherwise, this is the kind of class where you leave with something that feels like it came from you, not from a rack.
FAQ
How long is the Bali Jewelry Silver Class in Uluwatu?
The class lasts about 2 hours (approx.).
Where is the meeting point?
You’ll meet at Signature Jewelry Classes – Uluwatu Silver Class, Jl. Labuansait No.64, Pecatu, Kec. Kuta Sel., Kabupaten Badung, Bali 80361, Indonesia. The activity ends back at the meeting point.
What does the price include?
It includes bottled water, free Wi‑Fi access, an air-conditioned studio environment, 1–6 grams of pure silver for one jewelry design, guidance by professional silversmiths, and specialized tools for jewelry making.
Is gold plating available?
Yes. Gold plating is optional and available for an additional charge.
How much silver will I use?
You’ll use 1–6 grams of pure silver for your one jewelry design.
Are meals included?
No, meals are not included.
Is hotel transfer included?
No, hotel transfer is not included.
Is Wi‑Fi available during the class?
Yes. The studio provides in-house free Wi‑Fi access while you wait and during the experience.
What’s the group size?
The class has a maximum of 20 travelers.
What is the cancellation policy?
You can cancel for a full refund up to 24 hours before the experience’s start time. If you cancel less than 24 hours before, the amount paid is not refunded.
More Bali Reviews & Picks
More of Uluwatu & the Bukit Coast



Still deciding? More Bali days reviewed, from volcano sunrises to island crossings











Uluwatu, GWK & the Bukit Coast, compared.
 ★ 5.0Uluwatu Sunset, Kecak Dance, and Dinner Jimbaran BeachFrom $353,681 reviews
 ★ 4.5Uluwatu Sunset Tour: Kecak and Fire Dance with Jimbaran DinnerFrom $65597 reviews
 ★ 5.0Uluwatu Temple Entry and Kecak Fire Dance TicketFrom $29479 reviews
 ★ 5.0Private Tour: Uluwatu Temple & Southern Bali HighlightsFrom $45387 reviews
 ★ 5.0Private Tour Bali Beaches and Uluwatu Temple with DinnerFrom $48363 reviews
 ★ 4.0Kecak and Fire Dance Ticket at Uluwatu TempleFrom $11222 reviews
 ★ 4.5Private Half-Day Tour: Uluwatu Sunset Trip and Dinner PackagesFrom $65219 reviews
 ★ 4.5All Inclusive Kecak Dance and Uluwatu Temple Admission TicketFrom $38127 reviews
Browse the lists this tour appears in